Understanding and Preventing Mold Growth

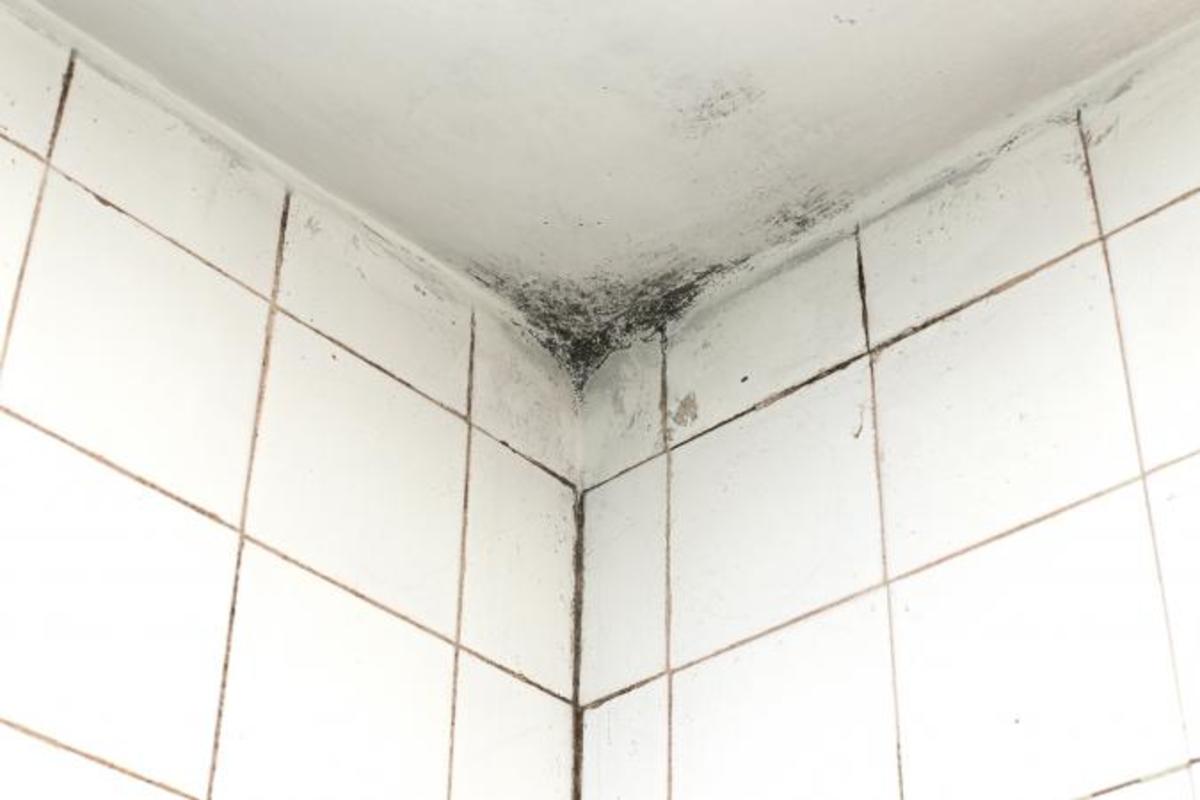
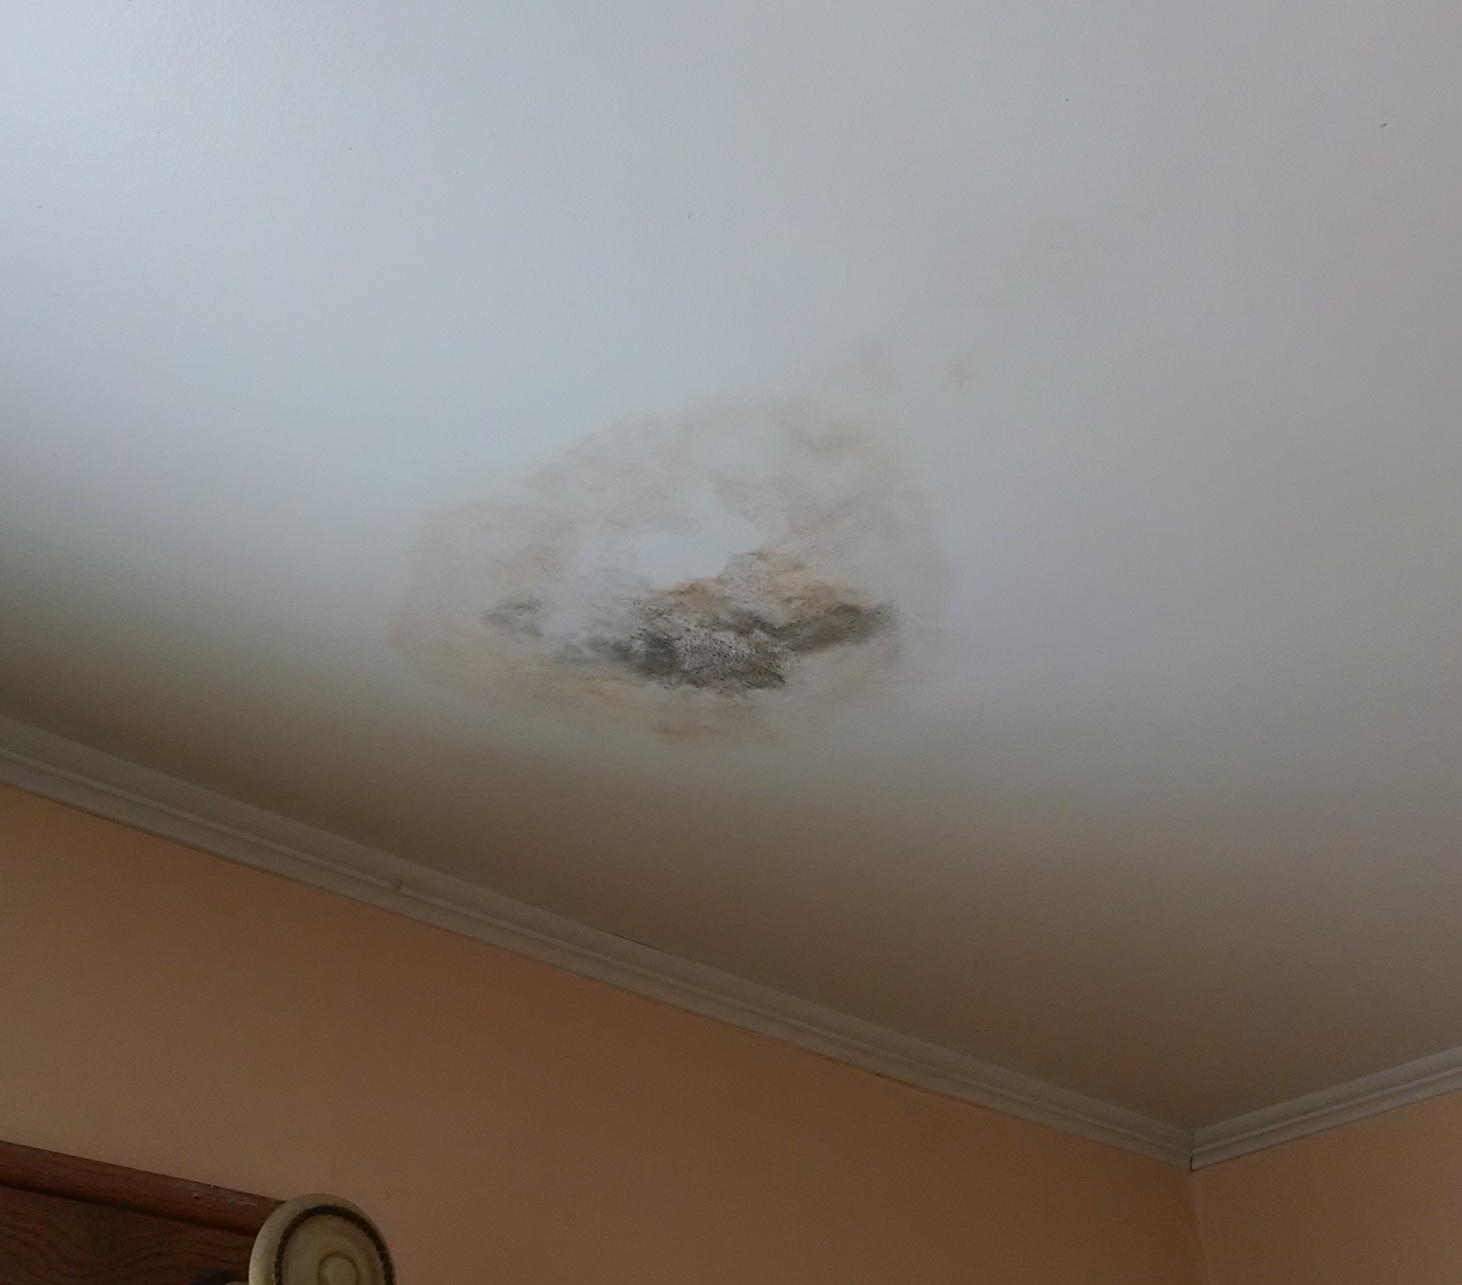
Mold growth in bathrooms, especially on ceilings, is a common problem that can affect the health and appearance of your home. It’s crucial to understand the causes of mold growth and take preventive measures to minimize the risk.
Causes of Mold Growth in Bathrooms
Mold thrives in warm, humid environments with a readily available source of moisture. Bathrooms, with their frequent use of water and steam, provide an ideal breeding ground for mold. The ceiling, often overlooked during cleaning, can accumulate moisture from condensation, leaks, or poor ventilation.
Preparing the Ceiling for Painting: How To Paint Mouldy Bathroom Ceiling

Before you start painting, it’s crucial to prepare the bathroom ceiling properly. This involves addressing the mold issue, cleaning the surface, and making any necessary repairs. By taking these steps, you create a clean and dry surface that’s ready for a fresh coat of paint.
Safety Precautions When Working with Mold
Working with mold requires taking necessary safety precautions to protect yourself from potential health risks.
- Wear protective gear: Always wear a respirator mask, gloves, and eye protection to prevent inhaling mold spores and skin contact. This is essential, as mold spores can trigger allergic reactions and respiratory problems in some individuals.
- Ventilate the area: Open windows and doors to improve ventilation, allowing fresh air to circulate and reduce the concentration of mold spores in the air. This helps to minimize exposure to mold while you’re working.
- Avoid disturbing mold: When removing mold, avoid disturbing it excessively. This helps prevent the release of a large number of spores into the air, reducing the risk of exposure and potential health issues.
Cleaning and Removing Mold from the Bathroom Ceiling
Cleaning and removing mold from the bathroom ceiling is a crucial step before painting.
- Prepare a cleaning solution: Mix a solution of bleach and water (1:10 ratio) in a spray bottle. Bleach is an effective mold-killing agent. Remember to wear gloves and eye protection when handling bleach.
- Apply the cleaning solution: Spray the cleaning solution liberally onto the moldy areas, ensuring complete coverage. Let the solution sit for 10-15 minutes to allow the bleach to kill the mold.
- Scrub the mold: Use a stiff-bristled brush or a sponge to scrub the moldy areas. Pay attention to crevices and corners where mold might be hidden.
- Rinse the ceiling: After scrubbing, rinse the ceiling thoroughly with clean water to remove any remaining bleach and mold residue. Allow the ceiling to dry completely before proceeding.
Repairing Damaged Areas of the Ceiling
After cleaning, inspect the ceiling for any damaged areas that need repair before painting.
- Patch cracks and holes: Use a patching compound or spackle to fill any cracks or holes in the ceiling. Apply the compound with a putty knife, smoothing it out to create a seamless surface. Allow the compound to dry completely before sanding it smooth.
- Replace damaged drywall: If the damage is extensive, you may need to replace the damaged drywall section. This involves cutting out the damaged area, installing a new piece of drywall, and securing it to the ceiling joists.
Using a Mold-Killing Primer Before Painting
Applying a mold-killing primer is crucial before painting the bathroom ceiling.
- Prevents mold regrowth: A mold-killing primer helps prevent mold from regrowing by creating a barrier that inhibits mold growth. This is particularly important in bathrooms, where moisture and humidity can encourage mold growth.
- Creates a smooth surface: A primer also helps to create a smooth and even surface for the paint to adhere to, resulting in a more professional-looking finish. It can help to cover stains and imperfections on the ceiling, providing a clean and uniform base for the paint.
Painting the Bathroom Ceiling

Painting the bathroom ceiling is an important step in completing the mold remediation process. It helps to seal the area, prevent future mold growth, and refresh the look of your bathroom.
Choosing the Right Paint
Selecting the appropriate paint is crucial for a successful and long-lasting finish. Bathroom ceilings are prone to moisture and humidity, making it essential to use a paint specifically designed for these conditions.
- Acrylic latex paint: This type of paint is highly recommended for bathroom ceilings. It is water-based, dries quickly, and is mildew-resistant. Acrylic latex paint also provides good adhesion and durability, making it ideal for high-traffic areas like bathrooms.
- Epoxy paint: While less common, epoxy paint is another excellent option for bathroom ceilings. It offers exceptional moisture resistance and durability, making it suitable for areas prone to high levels of humidity. However, epoxy paint is more expensive than acrylic latex paint and requires a specialized application process.
Painting Techniques for a Smooth Finish
Achieving a smooth and even finish on your bathroom ceiling requires careful preparation and proper painting techniques.
- Prepare the ceiling thoroughly: Ensure the ceiling is clean, dry, and free of any debris or loose paint. Use a primer specifically designed for mold-resistant surfaces to seal the area and provide a smooth base for the paint.
- Use a high-quality paintbrush or roller: A high-quality paintbrush or roller will ensure a smooth and even application. Choose a brush or roller with a nap length suitable for the texture of your ceiling. For smooth ceilings, a short-nap roller is ideal, while a longer-nap roller is better for textured ceilings.
- Apply thin coats of paint: Apply thin coats of paint, allowing each coat to dry completely before applying the next. This will help to prevent drips and ensure a smooth finish. Avoid applying too much paint in one go, as this can lead to uneven coverage and dripping.
- Use a paint extension pole: If your ceiling is high, using a paint extension pole will make the painting process easier and more efficient. Ensure the pole is sturdy and secure, and adjust the length as needed.
- Paint in smooth, even strokes: Use long, smooth strokes to apply the paint, working in one direction. Avoid going back over the same area multiple times, as this can cause streaking.
Avoiding Paint Splatters and Drips
Preventing paint splatters and drips is essential for a clean and professional-looking finish.
- Use painter’s tape: Protect surrounding areas, such as walls and trim, by applying painter’s tape along the edges of the ceiling. Ensure the tape is firmly pressed against the surface to prevent paint from seeping underneath.
- Use a drop cloth: Cover the floor and surrounding furniture with a drop cloth to protect them from paint splatters and drips. Choose a drop cloth that is large enough to cover the entire area and secure it in place to prevent it from moving.
- Avoid overloading the brush or roller: Do not overload the brush or roller with paint, as this can lead to drips and splatters. Dip the brush or roller into the paint and gently remove any excess by tapping it against the side of the container.
- Paint in sections: Paint the ceiling in manageable sections, allowing each section to dry before moving on to the next. This will help to prevent drips and ensure a smooth finish.
Paint Color Recommendations for Bathroom Ceilings, How to paint mouldy bathroom ceiling
| Color | Description |
|---|---|
| White | A classic choice that creates a clean and spacious feel. White reflects light, making the bathroom feel brighter and more inviting. |
| Light Gray | A neutral color that provides a calming and sophisticated ambiance. Light gray complements a variety of bathroom styles and can help to create a spa-like atmosphere. |
| Pale Blue | A calming and refreshing color that evokes a sense of tranquility. Pale blue can help to create a spa-like atmosphere and enhance the feeling of relaxation in the bathroom. |
| Soft Green | A natural and soothing color that can bring a touch of nature into the bathroom. Soft green can help to create a sense of peace and serenity. |
How to paint mouldy bathroom ceiling – Painting a mouldy bathroom ceiling requires thorough cleaning and the use of a mildew-resistant paint. If you’re looking for a fresh, clean look, consider using behr gray bathroom paint for a modern and calming aesthetic. Be sure to apply two coats for optimal coverage and allow adequate drying time between coats, ensuring the paint adheres properly to the ceiling and prevents future mould growth.
Painting a moldy bathroom ceiling requires a specific approach. First, you need to thoroughly clean the mold with a bleach solution, ensuring it’s completely removed. Before you even consider painting, you should address the root cause of the mold growth, which often involves fixing leaks or improving ventilation.
It’s important to remember that simply painting over mold won’t eliminate the problem. In fact, painting over mold can actually trap moisture and worsen the issue. So, before you grab your paintbrush, you should consider whether you can paint over mold in the bathroom, which you can learn more about here.
Once you’ve addressed the underlying problem and thoroughly cleaned the mold, you can then apply a mildew-resistant paint to the ceiling, ensuring proper ventilation to prevent future mold growth.